RV Water & Sanitation Setup: The Data-Driven Gear Guide for New RV Owners (2026)
Why New RV Owners Get This Wrong
This RV water and sanitation setup guide for new RV owners addresses the most predictable first-trip failures. Based on 3,000+ owner reports across this silo, the same patterns appear repeatedly. The equipment failures are avoidable. So are the fixes.
Most RV water system problems are not random failures. They are recurring patterns that appear during a new owner’s first few trips.
The data singles out three issues.
The first is connecting directly to campground water without a pressure regulator. Municipal systems commonly operate between 40–80 psi, but RV owners report campground pressure spikes exceeding 100 psi.[1] Most RV plumbing systems are designed to operate within a 40–60 psi range.[2] Excess pressure stresses PEX lines, damages fittings, and shortens the life of water heaters and appliances long before a visible leak appears.
The second is skipping the inline water filter. Campground water quality varies significantly across the United States. Owner reviews consistently mention chlorine taste, sediment, discoloration, and unpleasant odors. Water that is technically safe to drink may still create problems for RV plumbing and daily comfort.
The third is treating the sewer hose as an item of insufficient consideration. Every RV trip eventually ends at a dump station. A damaged or underspec’d sewer hose is not merely inconvenient — it creates sanitation problems that are entirely avoidable with the right equipment.
Most new owners focus on the RV itself and do not fully recognize the importance of the equipment that connects it to campground infrastructure.
How the RV Water System Actually Works
The RV water system is two separate systems connected by a single campsite.
Many first-time owners focus attention on the clean water side and address the sanitation side only after the first dump day. Both systems require purpose-built equipment from the start.
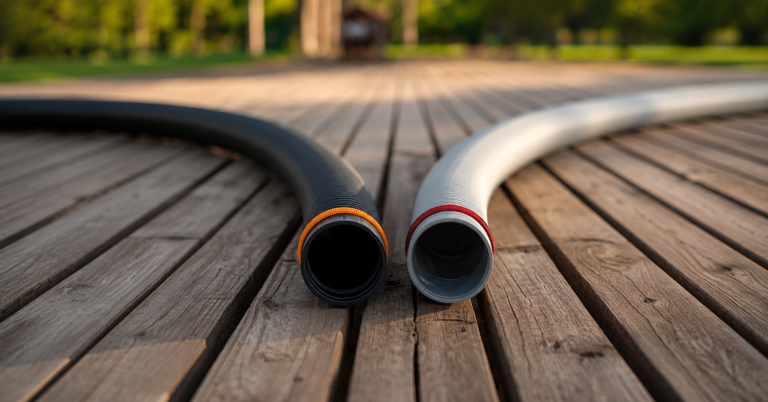
RV Sewer Hose Guide: What the Data Says About Sewage Management
The sewer hose handles every black-tank and gray-tank dump. Its primary job: contain waste safely while resisting crushing, abrasion, punctures, and repeated compression.
Wall thickness, measured in mils, is the number that matters. Thicker walls provide better resistance to crushing and blowouts.
Owner reports across the category consistently focus on two products: the Camco RhinoFLEX and the Valterra Viper. The RhinoFLEX uses 23 mil polyolefin construction.[4] The Viper uses 25 mil TPE construction.[4] While the 2-mil difference may appear minor on paper, the materials behave fundamentally differently — and owners notice. TPE springs back after compression and stays flexible in cold weather. Polyolefin holds shape and compresses tight, which is its storage advantage.
The thickness discussion is not driven by marketing materials. It emerges repeatedly across thousands of owner reviews. Buyers routinely connect the material difference with performance in cold climates and on abrasive campground surfaces.
Having a heavy-duty sewer hose is the foundation of site sanitation. We analyzed the thickness and crush resistance of the top two market leaders. Before you buy, read our complete technical breakdown.
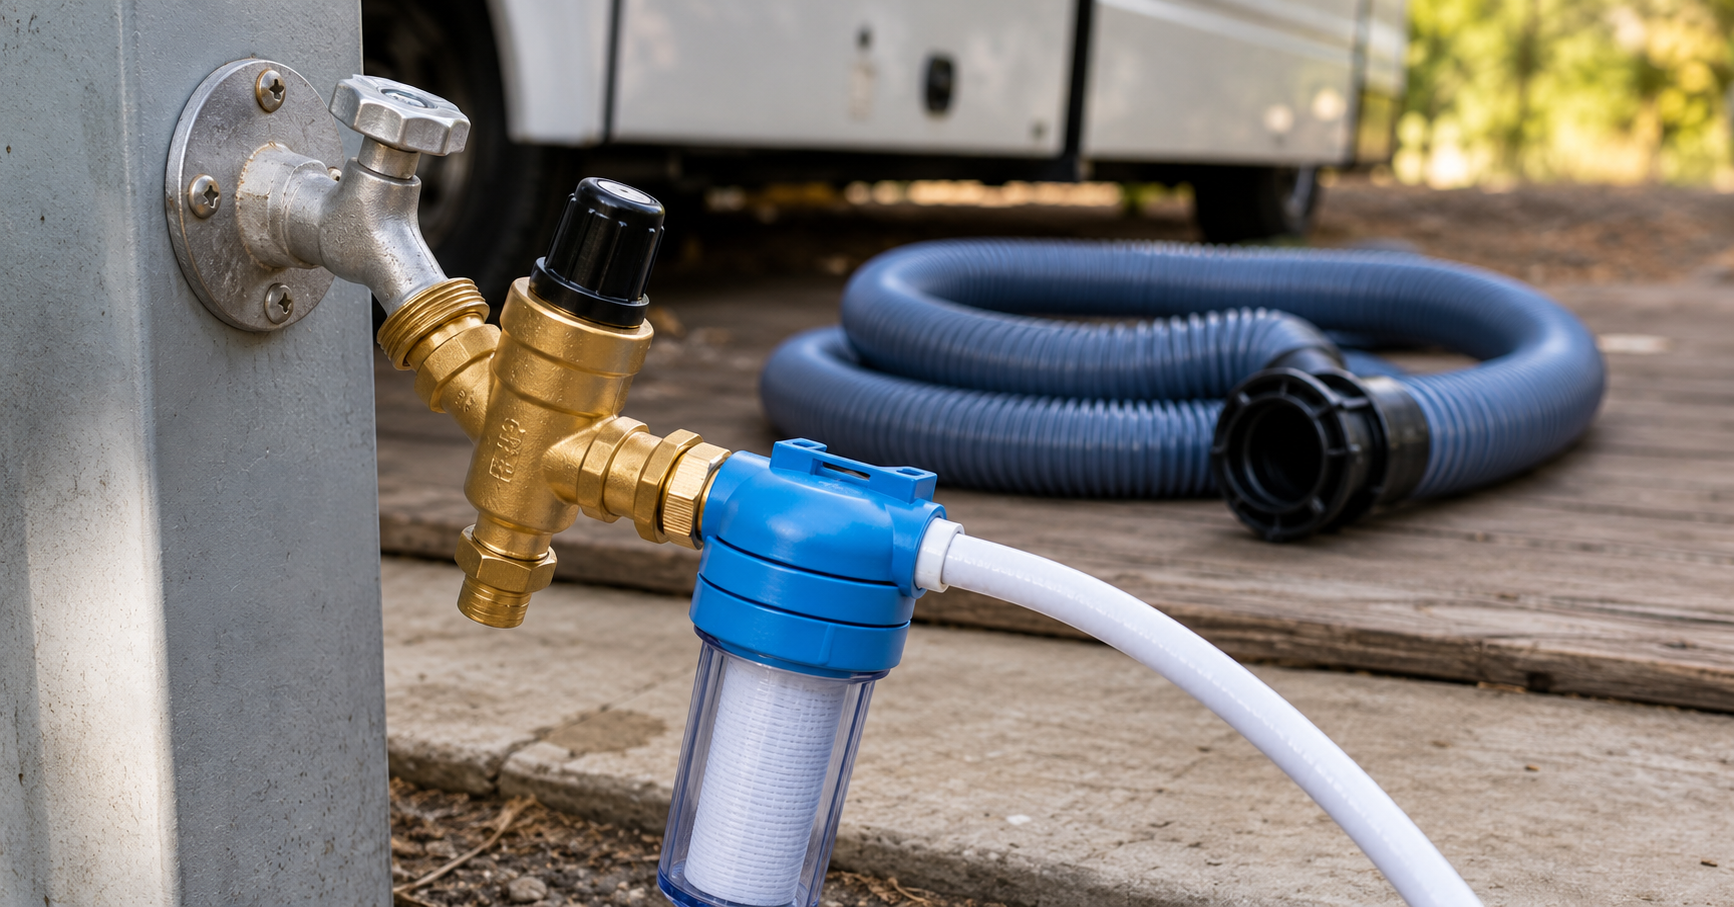
Camco RhinoFLEX vs Valterra Viper comparison →RV Water Pressure Regulator Guide: What the Data Says About Pipe Protection
Campground water pressure is one of the most neglected risks in RV ownership.
RV plumbing components are designed to balance durability with weight and space constraints. When campground pressure exceeds safe operating levels, the stress transfers directly to PEX tubing, fittings, appliance connections, and water heater components.
RV owners report pressure spikes above 100 psi in campground systems.[1] RV plumbing is designed around a 40–60 psi operating range.[2]
Owner reviews zero in on two approaches.
Fixed regulators — such as the Camco 40055 brass — reduce incoming pressure to a preset safe range. No adjustment required. Owner feedback shows these units dominate usage at established campgrounds where water pressure tends to be predictable.
Adjustable regulators — such as the Renator M11 — allow owners to set a specific output pressure and verify it via a built-in gauge. More control. More complexity.
The data shows most owners at established parks are satisfied with fixed regulators. Adjustable units become more valuable when traveling through unfamiliar campgrounds, connecting to inconsistent water sources, or operating RVs with specific manufacturer pressure recommendations.
High campground water pressure will rupture your internal PEX lines. Regulating that flow is non-negotiable. To see which brass unit handles continuous PSI stress best, read our full analysis.
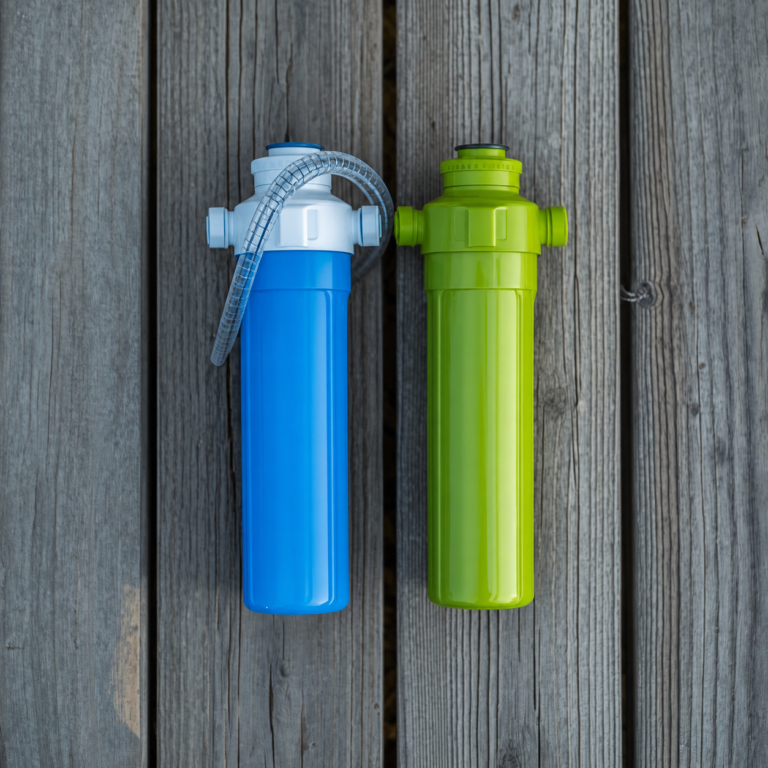
Renator M11 vs Camco Brass pressure regulator comparison →RV Inline Water Filter Guide: What the Data Says About Water Filtration
An inline water filter protects both the RV and the owner.
Depending on the model, these filters reduce chlorine, sediment, unpleasant tastes, odors, heavy metals, and sulfur compounds before water reaches the RV’s plumbing system.
Owner reviews focus on two products: Camco TastePURE and Clear2O CRV2006.
The difference starts with filtration design. Granular activated carbon (GAC) systems such as the TastePURE prioritize flow rate and broad compatibility. Solid carbon block systems such as the Clear2O prioritize filtration depth and sulfur removal. The trade-off is flow rate versus filtration precision.
Micron rating is the clearest data point. The TastePURE uses a 20-micron design at 2.5 GPM.[6] The Clear2O uses a 1-micron carbon block at 3.5 GPM @ 50 psi.[6] Finer filtration isn’t always better. A 1-micron filter catches more, but clogs faster in sediment-heavy campgrounds.
Owner reports reflect this consistently. TastePURE owners praise flow rate and simple operation. Clear2O owners praise sulfur removal and filtration confidence. Neither design is universally superior — each is optimized for different water conditions.
Unfiltered campground water destroys appliances and tastes terrible. For standard inline connection protection, we compared micron ratings and lifespan data. Read our verified comparison.
Camco TastePURE vs Clear2O analysis →Best RV Water Accessories 2026: The Essential Checklist
Budget matters for most first-time RV owners. The good news: protecting the entire water and sanitation system does not require a large investment. Priority matters more than perfection.
The highest-priority purchase. A single pressure spike can damage PEX plumbing, water heater fittings, appliance connections, and internal seals. The regulator protects every component downstream. It is the lowest-cost item with the highest potential consequence if ignored.
Every RV trip requires at least one tank dump. A damaged sewer hose creates sanitation problems, cleanup costs, and unnecessary stress. Reliable dump equipment is essential gear, not an upgrade.
Campground water quality is inconsistent across the US. An inline filter improves taste, reduces sediment, and helps protect internal plumbing from contaminants that would otherwise enter the RV.
| Priority | Category | Item | Why It Matters | Est. Cost |
|---|---|---|---|---|
| #1 — Critical | Pipe Protection | Pressure Regulator | Prevents PEX damage from pressure spikes | ~$15–30 |
| #2 — Critical | Sewage Management | Sewer Hose Kit (20 ft) | Required for every tank dump | ~$25–40 |
| #3 — High | Water Filtration | Inline Water Filter | Improves taste, reduces sediment and odor | ~$18–25 |
| Complete entry-level setup | ~$60–90 USD | |||
RV Sanitation Accessories & System Maintenance Schedule
Fresh water tank sanitization is one of the most commonly neglected maintenance tasks. The standard process: mix 1/4 cup of household bleach per 15 gallons of tank capacity, run through all faucets until the bleach smell is present, allow to sit for 4–12 hours (overnight recommended), then flush completely.[3]
| Item | Interval | Action |
|---|---|---|
| Inline water filter | Every 3 months or 500 gallons | Replace |
| Fresh water tank | Every 6 months or after storage | Sanitize with bleach solution [3] |
| Sewer hose | Before every trip | Inspect for cracks, thinning, fitting wear |
| Pressure regulator | Annually | Check for corrosion, thread wear, consistent output |
Frequently Asked Questions
What do I need for a complete RV water hookup for the first time?
For a safe baseline hookup, four accessories are required: a certified drinking-water-safe hose, a mechanical water pressure regulator, an inline water filter (20-micron minimum for standard campground use), and a heavy-duty sewer hose kit with a translucent elbow adapter for wastewater management. This combination addresses the three most common first-trip failure points documented in owner reports.
Should you leave gray and black tank dump valves open during hookup?
No. Keep the black water tank valve closed until the tank is at least two-thirds full. Leaving it open causes liquid to drain away before solid waste accumulates sufficient volume to flush cleanly, which leads to buildup inside the tank. The gray tank valve can remain open during daily campsite stays but should be closed 24 hours before dumping the black tank to provide a flush through the sewer line.
📋 Sources & References
Campground Pressure & Operating Range
- [1] Campground pressure spikes exceeding 100 psi — The RV Smith — RV Water System Maintenance Guide
- [2] RV plumbing operating range 40–60 psi — Mars RVs — RV Water System Diagram Guide
Fresh Water Sanitization
- [3] 1/4 cup bleach per 15 gallons, 4–12 hours — RV Cost Calculator — Water System Setup Guide + The RV Smith
Sewer Hose Specifications
- [4] RhinoFLEX 23 mil polyolefin — Amazon — Camco RhinoFLEX 20ft #39742
- [4] Viper 25 mil TPE — Valterra Official — Viper D04-0475
Water Filter Specifications
- [6] TastePURE 20 microns / 2.5 GPM — Amazon — Camco TastePURE 40043
- [6] Clear2O CRV2006 1 micron / 3.5 GPM @ 50 psi — Clear2O Official FAQ
Internal References
- RVRated Article #001 — Camco RhinoFLEX vs. Valterra Viper: What RV Owners Report
- RVRated Article #002 — Renator M11 vs. Camco Brass: What Buyers Should Know
- RVRated Article #003 — Camco TastePURE vs. Clear2O: What We Found in Owner Reviews
RVRated’s analysis is based solely on technical specifications and aggregated owner review data. This site may earn a commission on qualifying purchases. Full disclosure →